
Design
Indirect lighting design guide
Six decisions in the right order. Each follows from the previous one – and the wrong order means the structure does not fit, the strip shows dots or the driver gets plastered in.

Why the order matters
In indirect lighting design, every decision limits the next. The ceiling colour sets the power, the power sets the strip, the strip sets the profile depth, the profile sets the structure, the structure sets the driver location. If you start from the product – “I’ll take this strip” – you often end up where the structure does not fit or the light is not enough.
This page goes through the decisions in the order they need to be made. Each step has its own in-depth page.
1. Where the light lands – the reflecting surface
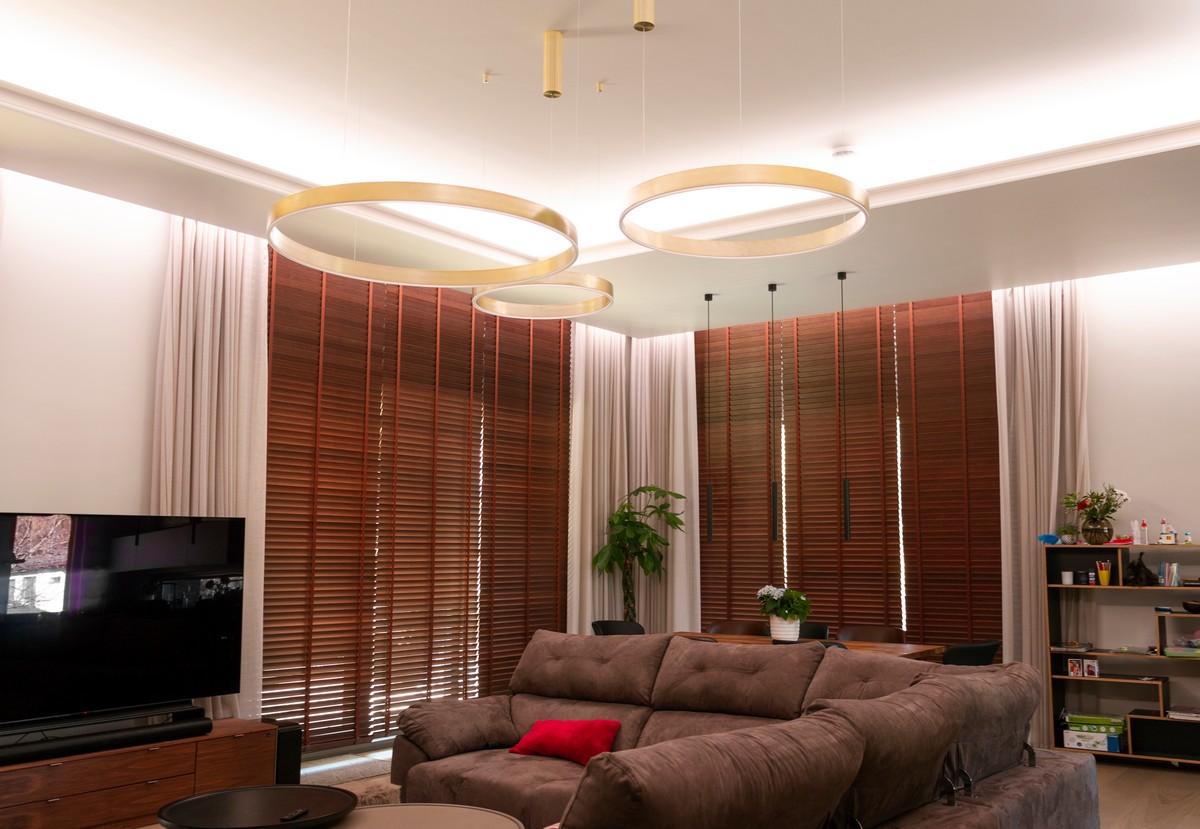
The first question is not “how much light” but “where does it land”. In indirect lighting, the ceiling surface is the luminaire. A white matt ceiling reflects 80-85 % of the light into the room, wood panelling 40-55 %, a dark surface under 40 %. The same strip therefore gives two completely different results depending on the ceiling.
| Reflecting surface | Light into the room | Consequence |
|---|---|---|
| White matt | 80-85 % | Basic sizing is enough |
| Light grey or beige | 60-70 % | About 20 % more power |
| Pine panelling, light wood | 40-55 % | Almost double the power |
| Dark wood, concrete, black | 20-40 % | Indirect general lighting does not work – change the surface or give up |
A decision you cannot get around
If the ceiling is dark and cannot be lightened, indirect lighting will not produce general light at any strip power. Then it is mood lighting, and sizing is done accordingly. Accept this before moving to the next step.
The ceiling’s sheen matters too: gloss paint reflects like a mirror and shows the strip as a reflection. Matt or eggshell is a must. Colour temperature and the reflecting surface →
2. How much light – room and use
The second decision is the role of the room. The same room may need 150 lux for relaxing or 500 lux for work, and the difference in strip power is threefold. Indirect light economically produces 150-300 lux – task lighting is added on top separately.
| Role of the room | Target | Strip power for a light ceiling | Examples |
|---|---|---|---|
| Mood lighting | 20-80 lx | 3.6-7.2 W/m | Sauna, kickboard, staircase, bedroom in the evening |
| General lighting | 150-250 lx | 14.4 W/m | Living room, bedroom, hallway, corridor |
| Base level + task lighting | 300 lx base, 500 lx workstation | 14.4-17 W/m + accent lighting | Kitchen, utility room, office |
For a wood-panelled ceiling, multiply the figures by about 1.8. How much light by room → · Sizing calculator →
3. Which structure fits – space required
The third decision is the structure, and it is decided by the space available – not preference. Is the ceiling open or finished? How much ceiling height can you lose? These two questions usually narrow the options down to one.
| Situation | Structure | Space required | Result |
|---|---|---|---|
| Ceiling open, height available | Light cove or dropped ceiling | 50-350 mm | Seamless, profile not visible |
| Ceiling open, little height | Low plaster-in profile | 17 mm framing | Only a 15 mm light slot visible |
| Ceiling finished | Surface profile at the wall-ceiling junction | 15-30 mm from the wall | Profile visible as a trim |
| In furniture | Recessed furniture profile | 12 mm groove | Strip hidden inside the board |
The structure sets the next step: a bulkhead has depth, a surface profile does not. All structures → · Construction details →
4. Which strip and profile – depth decides
The fourth decision follows directly from the third. If the profile depth from strip to diffuser is under 20 mm, the LED dots do not have time to blend and a row of dots shows on the ceiling. Then the only workable choice is a dotless COB strip. In a deeper bulkhead, dense SMD gives the same result for less.
- Profile under 20 mm – surface profiles, low plaster-in: COB required.
- Over 20 mm – light cove, dropped ceiling: dense SMD 120-240 LED/m is enough, COB is an option.
- 24 V voltage always – voltage drop is half that of 12 V, the strip can be longer.
- CRI at least 95 – in indirect light colour errors are amplified, because the light reflects off a surface.
- Strip width – an 8 mm strip does not fit a 5 mm groove. Check the profile groove before ordering.
COB vs SMD – light uniformity → · LED strips → · Aluminium profiles →
5. Glare shield – tested, not calculated
The fifth decision is the one most people get wrong. The lip height depends on the strip’s distance from it: 30-50 mm with the strip 40-60 mm back, 15-25 mm with the strip right behind the lip. But no formula knows where the sofa is. The only reliable way is to sit where people will sit and see whether the strip is visible – and in the bedroom do the same lying down.
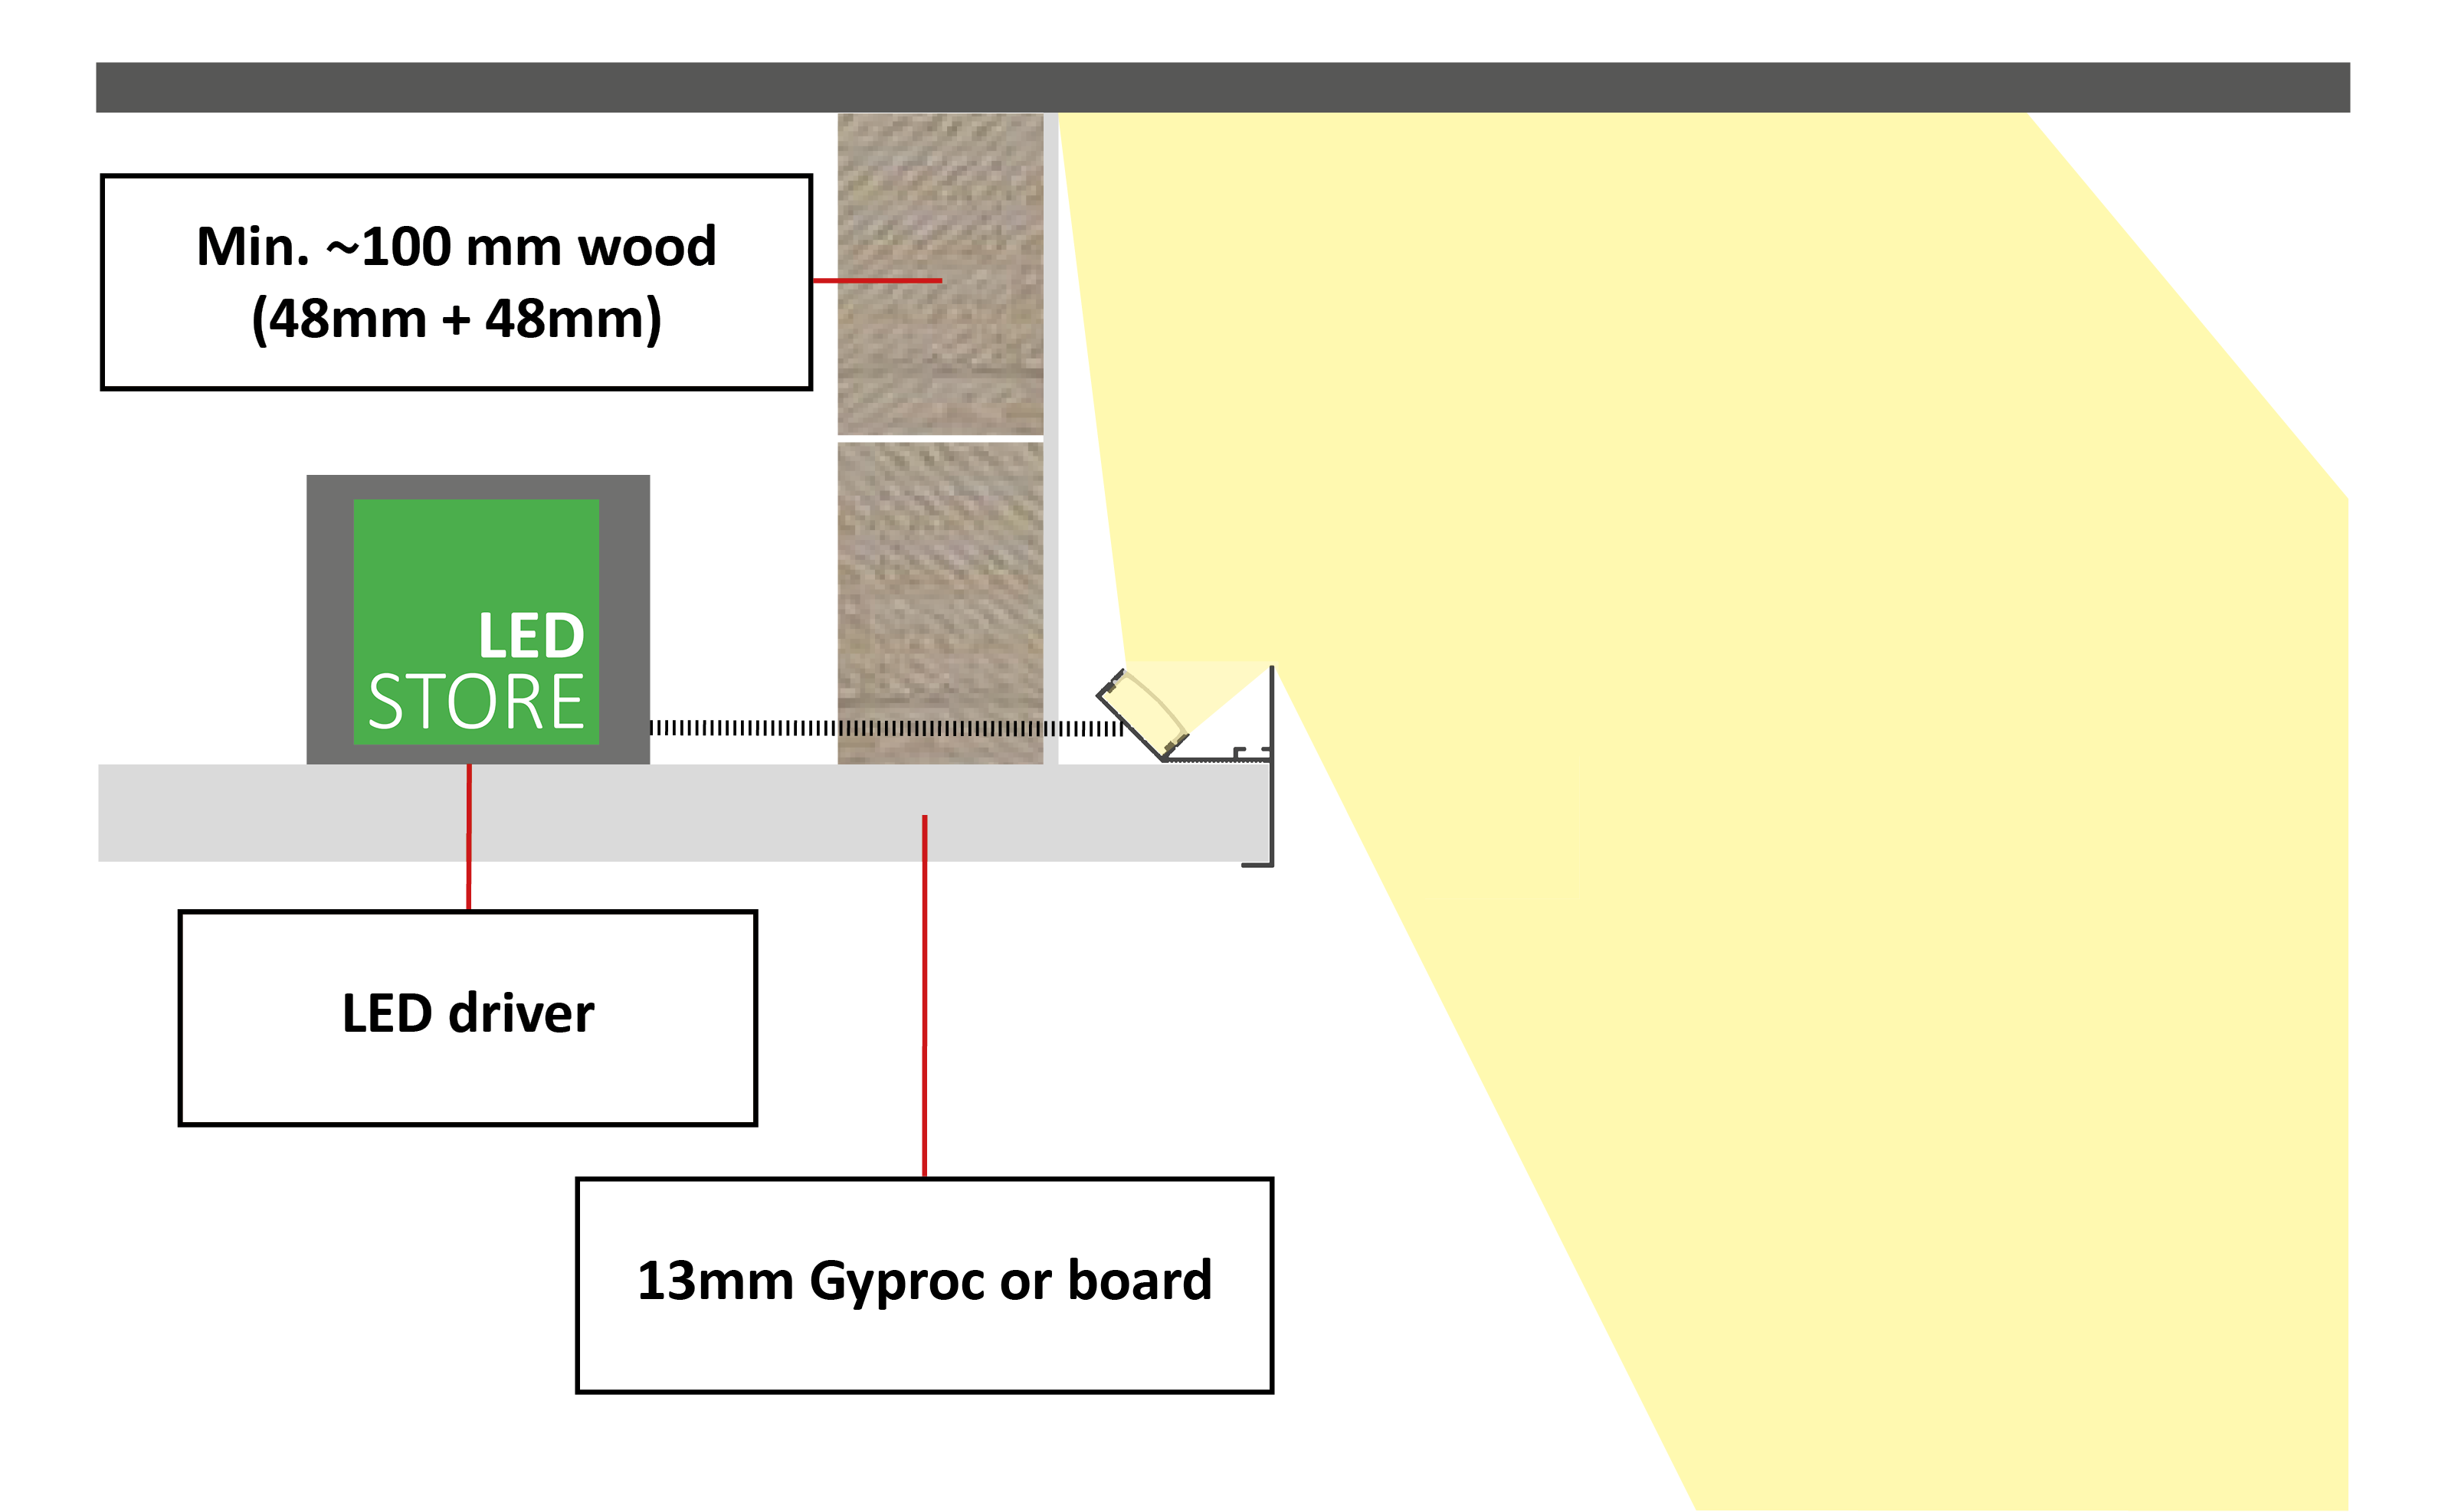
Mark a check point in the plan
The glare shield is checked before plasterboarding, when the bulkhead is framed but the board is not yet fixed. Raising the lip then takes ten minutes. After plasterboarding it means demolition. Put the check in the building schedule as its own item.
6. Driver and control – decided before the electrical plan
The sixth decision is made last but before the electrical plan, because it decides the cabling. Three things: driver size, driver location and control method.
Driver size
The strip’s total power divided by 0.8, then the next standard size. 18 metres of 14.4 W/m = 259 W → 324 W → a 320 W driver or two 200 W drivers. A driver running at full load overheats and fails years earlier.
Driver location
In an accessible place: on top of a cabinet, behind an access hatch or in a plant room. The driver is the part that fails first. The 24 V cable from driver to strip at most 5 metres with 1.5 mm² cable – longer and voltage drop darkens the far end of the strip.
Control method
| Switch | Zigbee | DALI | |
|---|---|---|---|
| Dimming | Separate dimmer | Built in | Built in |
| Scenes | No | Yes | Yes |
| Cabling | Switch wire | Supply only | Supply + bus |
| Changeable afterwards | No | Yes | Yes |
| Suits | No dimming | Home | Commercial, home automation |
Driver sizing → · Dimming and control → · Questions for the electrical designer →
Checklist before building work
When all six decisions are made, these must be marked on the drawings:
- Ceiling colour and sheen decided – or accepted that the light is mood lighting
- Strip power per room, W/m
- Structure per room and its depth in millimetres
- Profile position and the strip’s distance from the back wall
- Glare shield height and the check point in the schedule
- Number, size and location of drivers, and access hatches
- Control method, number of groups and button positions
- Cable routes from driver to strip, lengths under 5 m or a thicker cable
In-depth guides
When your own design is not enough → LedStore
Frequently asked questions
How is indirect lighting designed?
Six decisions in order: where the light lands, how much light is needed, which structure fits, which strip and profile suit it, the glare shield check, and finally driver and control. The wrong order means the structure does not fit or the light is not enough.
What must be decided before building work starts?
Structure depth, profile position, cable routes and driver location. These four are locked in once the board is up – afterwards they cannot be reached without demolition.
How much light is needed?
It depends on the room and the ceiling colour. For general lighting 150-250 lx, i.e. 14.4 W/m on a light ceiling. Wood panelling needs almost double the power. The sizing calculator works this out from the room dimensions.
When is it worth ordering a lighting design?
When the room is unusual or high, or when the project is a commercial space where standards apply. LedStore’s design starts from €199 and pays for itself if it prevents one wrong purchase.
What is the most common mistake in indirect lighting design?
A glare shield that is too low, so the strip is visible from a seated position. Another common one is putting the driver in a plastered-in bulkhead. The third is starting from the product instead of the structure.
Can I do the design myself?
For an ordinary home, yes, if you follow the order and do the glare test. The sizing calculator handles the calculation. For commercial spaces, high rooms or special structures, bring in a designer – a mistake costs more than €199.