
Epäsuoravalo.fi
Dropped ceiling and indirect lighting – framing and construction details
Dropped ceiling design order, framing dimensions, three shapes, four construction details and the five most common mistakes.

Dropped ceiling vs. light cove
Both are plasterboard structures with the LED strip hidden. The difference is size and purpose.
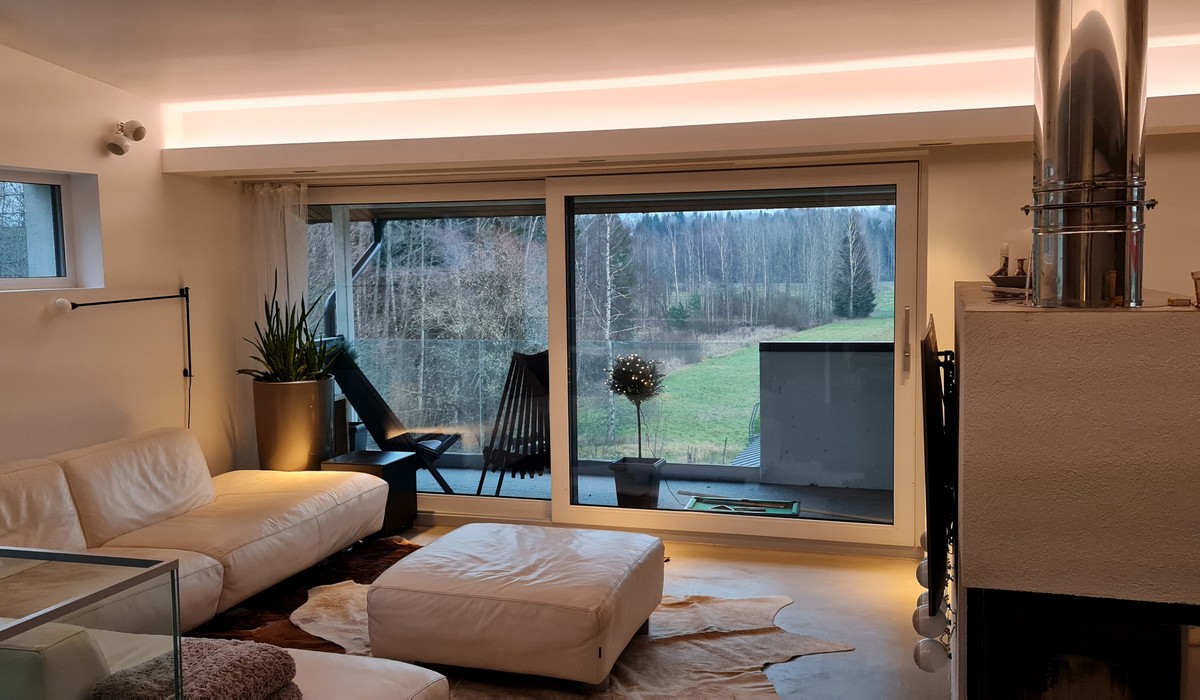
A light cove is a narrow (120–250 mm) structure that, as the name suggests, separates two surfaces with light and usually runs along one or more walls. It exists purely to produce indirect light.
A dropped ceiling covers a larger area — part of the room or the whole room. It often combines several lighting solutions: indirect light, recessed spotlights, curtain tracks. It is an architectural element that changes how the room feels.
The three shapes of a dropped ceiling
1. Dropped at the edges — the most common
The ceiling is lowered only at the edges, and the middle of the room stays higher. Indirect light comes up from the edges and the central area stays tall. Used when you want to maximise ceiling height while getting atmospheric lighting. Especially suited to bedrooms and living rooms.
2. Fully dropped — for large spaces
The whole ceiling is lowered evenly. Indirect light from one or more edges, spotlights in the ceiling. Works best when the original ceiling height is well above 2.7 m. In a low room this takes too much height.
3. An island in the middle of the room
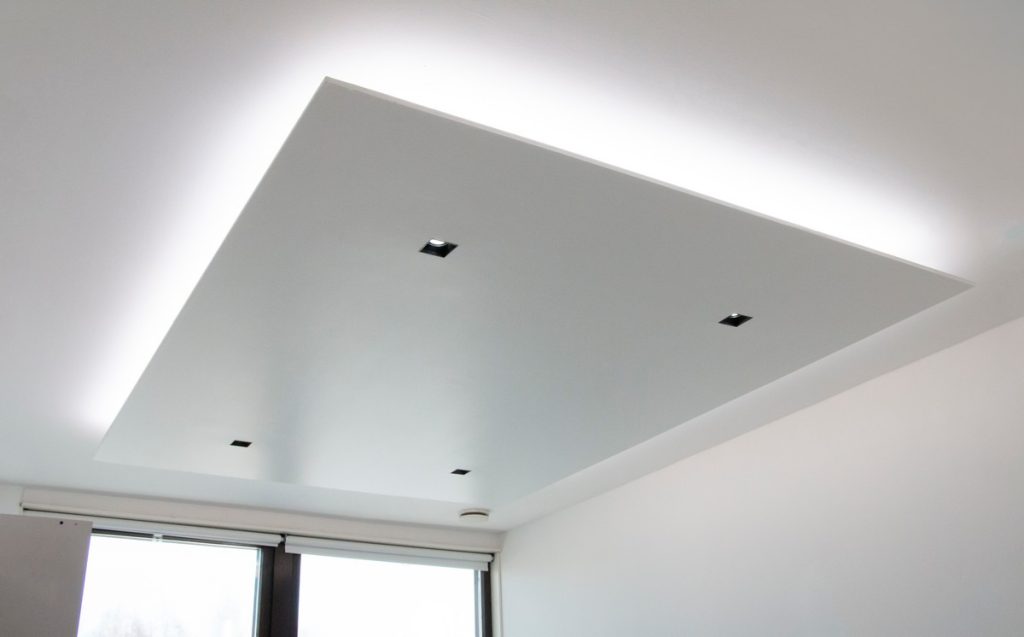
A dropped section only in the middle of the room — the edges stay high. Light goes up from the edges along the sides of the dropped section. A graphic solution that creates a strong architectural element. Needs careful design so the space does not feel cramped.
Design order — in this order, no other
How much height is left, and is it enough? The minimum for normal living is 2400 mm, preferably 2500 mm. A 100–300 mm drop means an original height of over 2700 mm is needed for a comfortable result.
LED spotlights need 50–100 mm recess depth. Panels 22–48 mm. Indirect LED strip 50–300 mm. The framing is sized for the chosen luminaire and lighting type, not the other way round. This is building mistake number one.
Group driver or a driver per luminaire? Wireless control (Zigbee) or wired? These decisions affect the amount of cabling and the space needed for drivers. Decide now, because changing after the plasterboard is expensive.
A group driver needs an access hatch. One hatch per driver, in an easily reachable place. Minimum opening: 300 × 300 mm. Bigger is better, since it makes sense to put all the room’s drivers behind the same hatch.
Only now. In order: frame fixed, cables run, drivers in place, plasterboard, filling, painting, profiles, strips.
Framing and space required
| LED panel (slim) | 22 mm framing is enough |
| LED panel (recommended) | 48 × 48 mm |
| LED spotlight, own driver | 48 × 48 mm |
| LED spotlight, group driver | 48 × 98 mm + hatch |
| Indirect strip (min.) | 50 mm |
| Indirect strip (recomm.) | 100–200 mm |
90 % of the spotlights in the LedStore range fit structures with a total height of 62 mm (48×48 + 13 mm plasterboard). The driver fits in the same framing through the luminaire’s mounting hole. For example, the SLIM Spot is only 32 mm high overall, so it fits in 22 mm framing.
Construction details — the four most common solutions
Structure A: Basic — light along the wall
The most popular structure: the outermost batten is moved away from the wall, and the light comes into the room along the wall. A white wall reflects about 70 % of the light into the room.
Structure B: Light + curtains
Curtains need about 100 mm of extra space. The light is kept on the room side so that light also comes in with the curtains closed. Framing: at least 48 × 48 mm, preferably 100 mm or more.
Structure C: Light fully hidden on a shelf — driver on the shelf
The driver sits on the shelf with the profile. Opening: at least 60 mm wide and 57 mm high. White surfaces bring about 50 % of the light out. The profile can be a 45° corner profile or a straight profile laid on its side.
Note that this is the same structure if you want a light island in the middle of the room, with an element dropped from the ceiling. The light then comes into the room from the outer edges of the element, which is usually much smaller than the room.
Structure D: Indirect light towards the middle of the room
The light runs around the whole room and lights the central area of the ceiling. Minimum fascia: 90 mm, recommended 200–300 mm so the light can open up. The front edge of the shelf suits LedStore’s EDGE profile — pressed onto the end of the plasterboard, it finishes the edge.
Products for dropped ceilings → LedStore
The five most common mistakes with dropped ceilings
Frequently asked — dropped ceiling
How much ceiling height does a dropped ceiling take?
Most commonly 200–350 mm. At minimum 50–100 mm with slim panel lights. For indirect light, allow 150–300 mm so the light has time to open up evenly.
Can spotlights and indirect light be combined?
Yes, and it is the most popular solution. Indirect light from the edges gives atmosphere, spotlights along the centre line give task and general light. They are controlled as separate groups.
What framing for a dropped ceiling with indirect light?
48 × 48 mm is standard and suits most situations. 48 × 98 mm gives more room for the driver and the shelf. With curtains, 100 mm or more is recommended.
Does a dropped ceiling always need an access hatch?
Whenever the driver is inside the ceiling. If the driver is outside the box or inside furniture, no separate hatch is needed. A group driver always needs an access hatch.
Can a dropped ceiling be added afterwards?
Yes, but it is demolition work — ceiling open, cables, new plasterboard, filling, painting. It is a full renovation. If you do not want demolition, see the retrofit page.
What is the best strip for a dropped ceiling?
For a low profile (under 20 mm) a COB strip — dotless, even light. In a deeper box an SMD strip also works. 14.4–22 W/m for general lighting, 7.2 W/m is enough for mood lighting. See LedStore’s LED strips →
Toteutettuja kohteita
Alaslasku toteutettuna
Alaslaskettu katto ja lippa, josta valo nousee kattoon – kuusi kohdetta olohuoneesta makuuhuoneeseen. Huomaa miten lipan syvyys ratkaisee valon pehmeyden.
Kuvat: LedStore.fi toteutetuista kohteista.
How it was done in a real project
This page covers dimensions and structure. The LedStore blog shows the same solution built, with photos.
A successful dropped plasterboard ceiling lighting renovation — Ceiling dropped in the middle with hidden spotlights