
Structures
Indirect light to the ceiling – three structures
Three ways to make light rise onto the ceiling: a bulkhead at the wall-ceiling junction, a dropped ceiling from the edges, or a corner profile on a finished surface. Examples, dimensions and when each one fits.

Why the ceiling?
Indirect light aimed at the ceiling is the most common solution because it produces the broadest and most even general lighting. The light hits the ceiling first and reflects down from it into the whole room – the ceiling acts as the luminaire. The light source is never directly in view.
This sets a condition for the structure: the ceiling surface must be light. A white matt ceiling reflects 80-85 % of the light, wood panelling less than half. A dark ceiling does not reflect enough at any strip power.
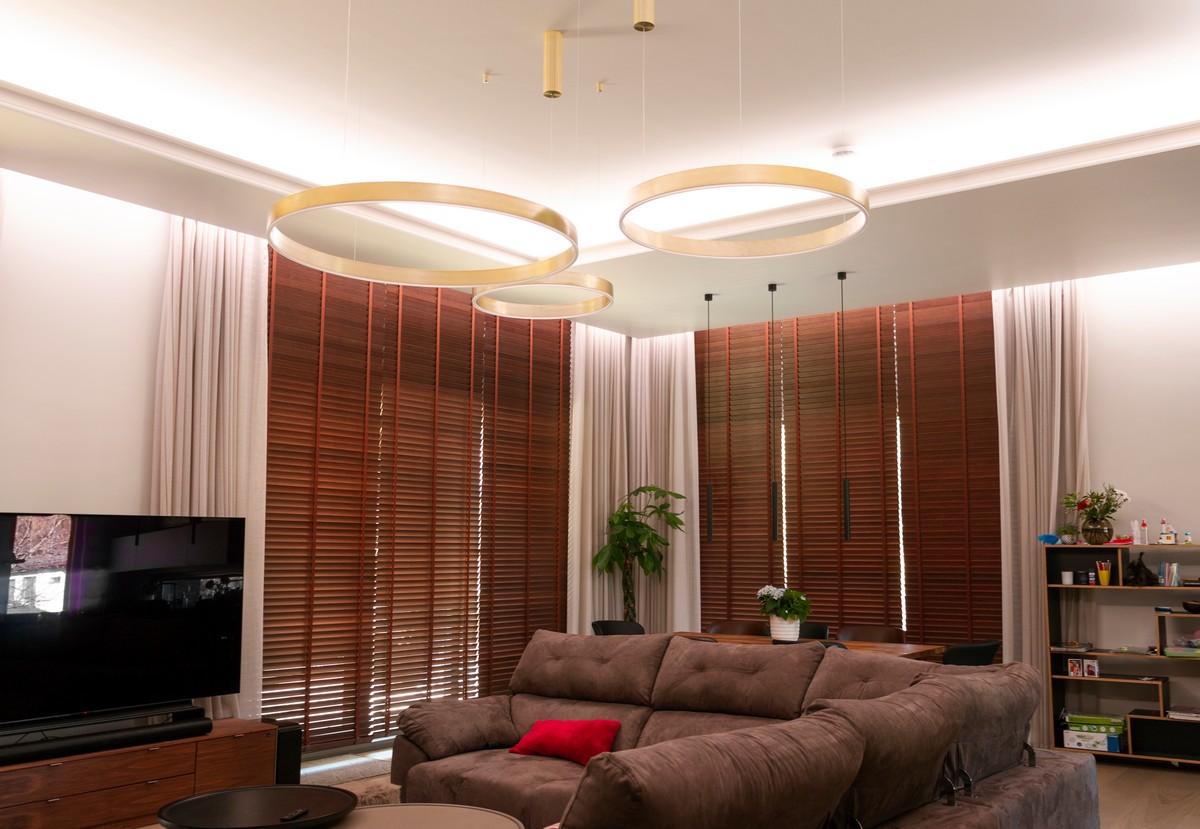
1. Light cove – a bulkhead at the wall-ceiling junction
A plasterboard bulkhead at the wall-ceiling junction. The strip sits at the bottom of the bulkhead behind the glare shield, aimed upwards. The most common solution in new builds and renovations where the ceiling is open. The result is seamless: no profile shows, only the lit ceiling.
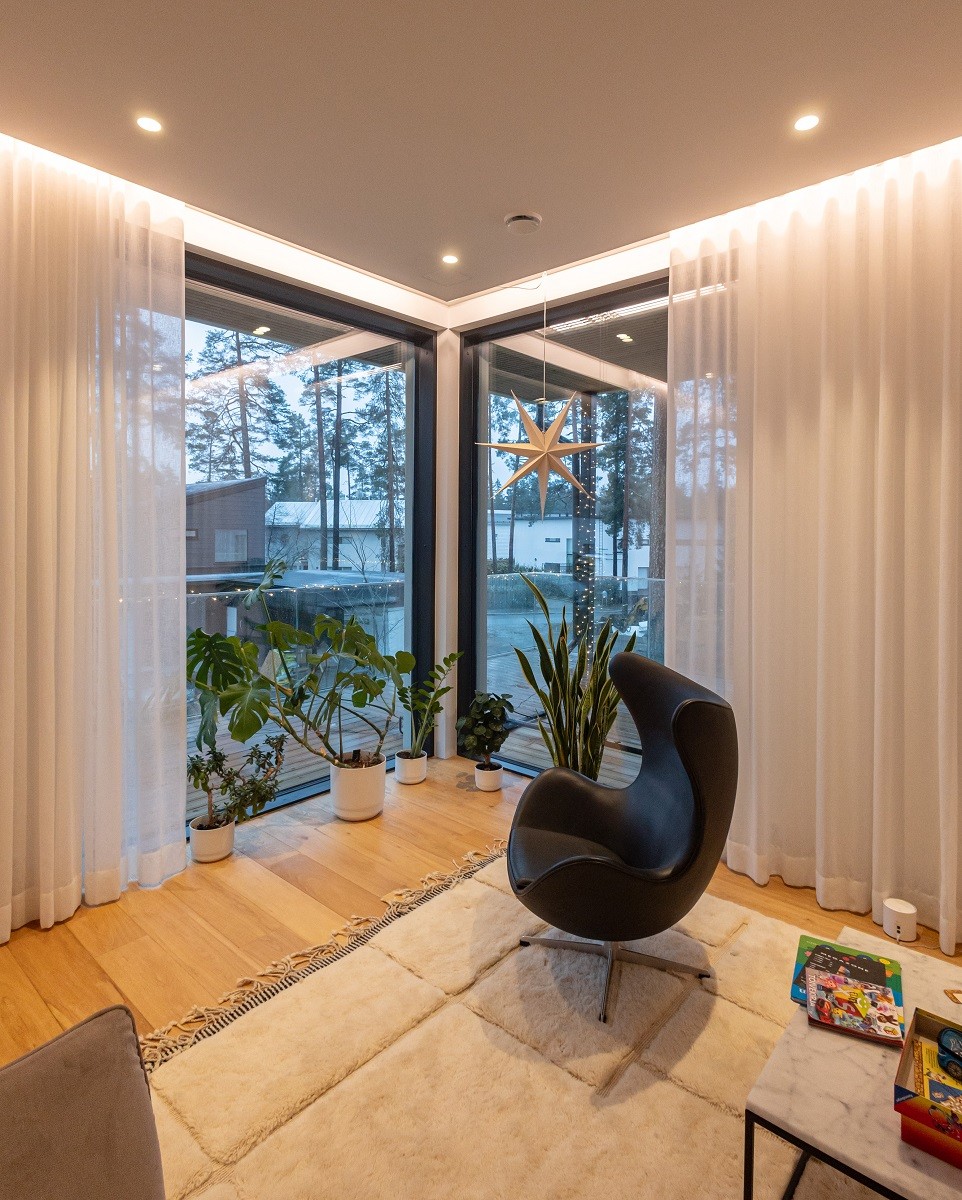
- Space required: 50-250 mm of ceiling height. A low profile allows 50 mm, traditional 48 × 48 framing takes about 100 mm.
- Work: framing, plasterboarding, filling, painting. Done before the plasterboard goes up.
- Light quality: excellent – the depth of the bulkhead blends the dots and the glare shield can be sized.
- Suits: new builds, renovations where the ceiling is opened, rooms where an invisible solution is wanted.
Light cove – dimensions, installation steps and profiles →
2. Dropped ceiling – light from the ceiling edges
The whole ceiling is lowered and a light slot is left at the edges. The light rises from the slot to the original ceiling and reflects from there. Takes the most height but gives the most unified result: the whole ceiling glows evenly and the structure appears to float.
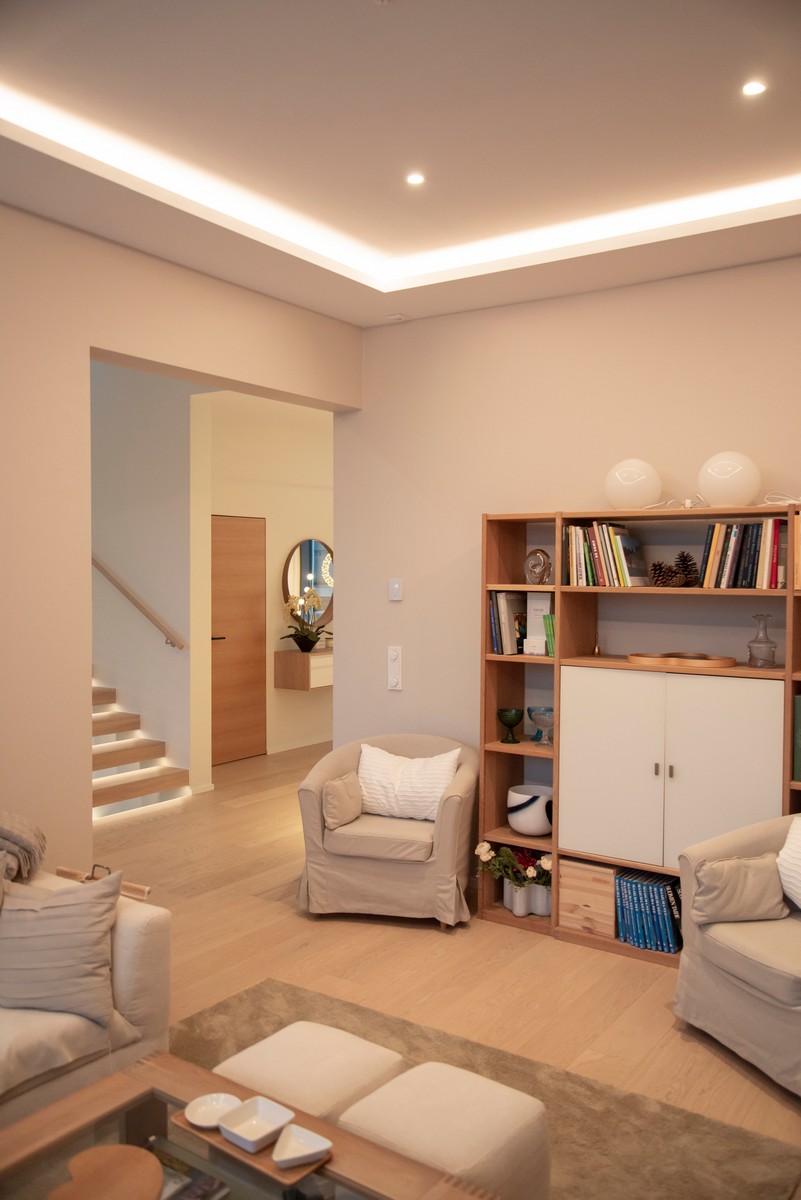
- Space required: 100-350 mm. The height of the dropped ceiling plus the depth of the light slot.
- Work: framing over the whole ceiling area, plasterboarding, filling, painting. The most work of the three.
- Light quality: excellent – light comes from the whole perimeter and the upper ceiling blends it perfectly.
- Suits: large rooms, high spaces, projects where ventilation or other services are also to be hidden inside the dropped ceiling.
Dropped ceiling – framing, construction details and sizing →
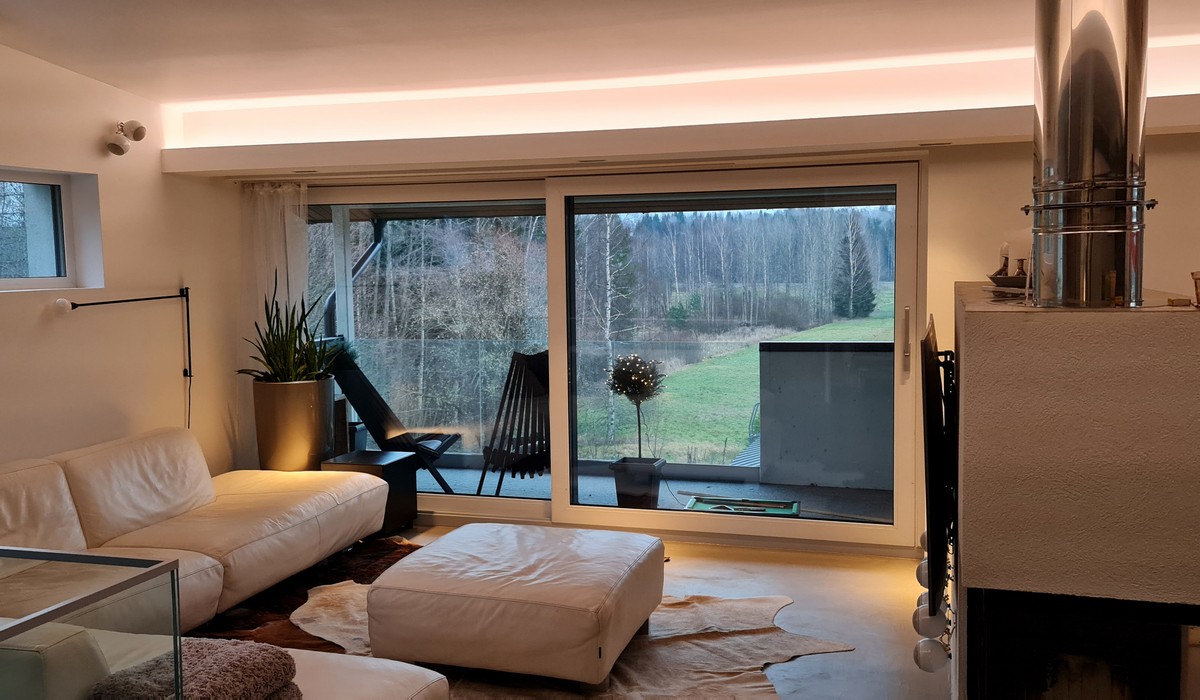
3. Corner profile at the wall-ceiling junction – retrofit
An aluminium profile is screwed onto the finished wall at the wall-ceiling junction, with the strip aimed upwards. No building work, no plasterboarding, no painting. The only one of the three that can be done in a lived-in home in one day. The profile stays visible as a trim, but it reads as a decorative moulding rather than a luminaire.
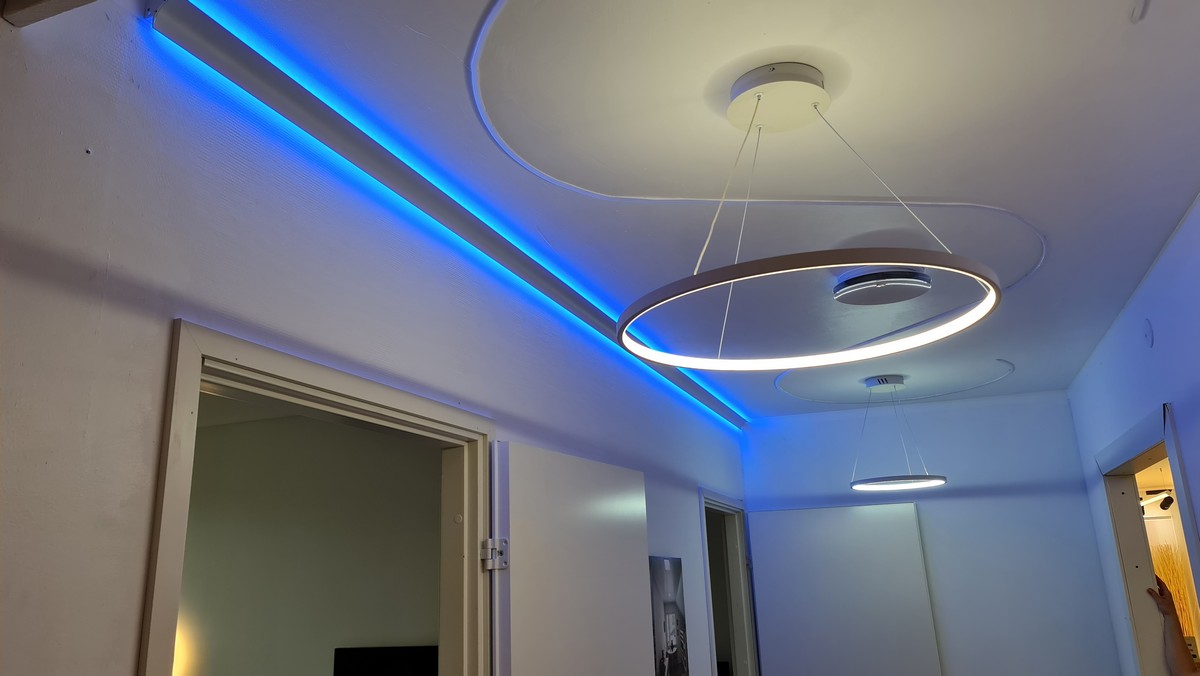
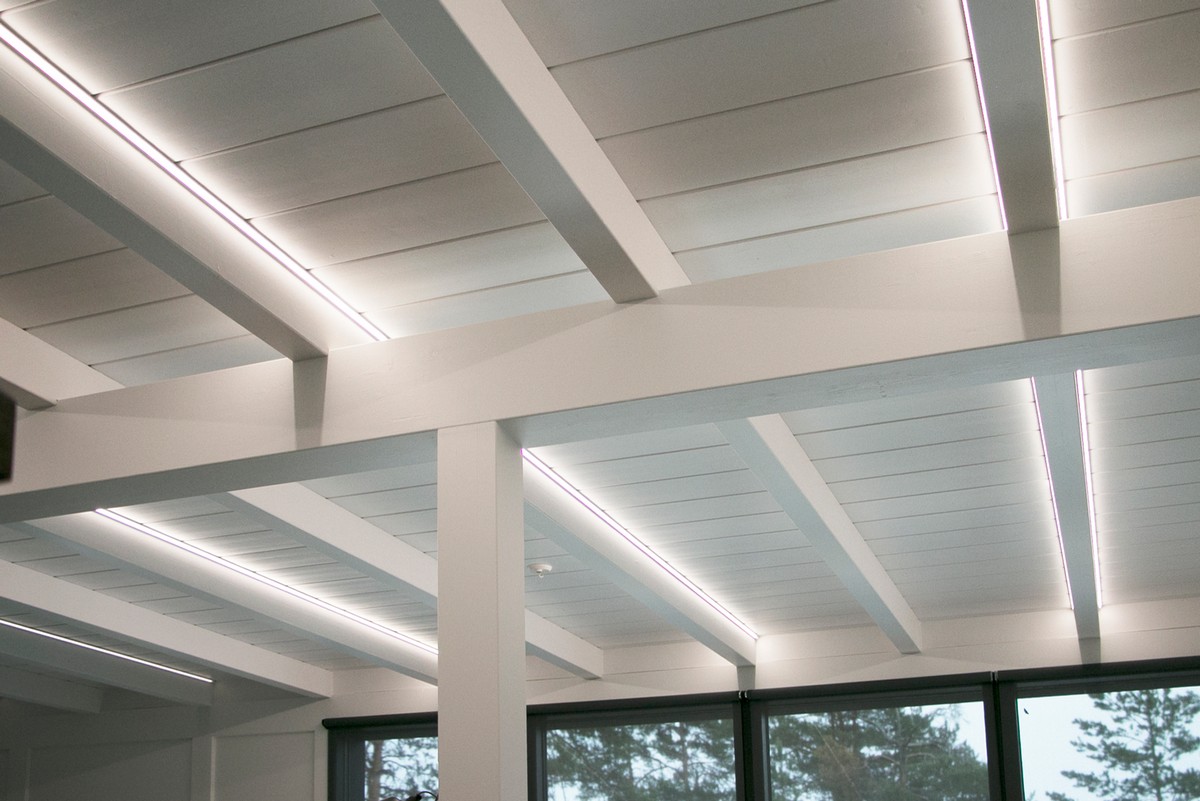
- Space required: 15-30 mm from the wall depending on the model. The slimmest is 18 mm.
- Work: screw fixing and a cable duct. Driver in a socket or on top of a cabinet.
- Light quality: good – without a bulkhead the dots require a COB strip, and the glare shield is part of the profile.
- Suits: finished homes, rented flats, projects where the ceiling cannot be opened.
Wall-ceiling junction → · Retrofit →
Special case: light in the middle of the ceiling
The previous three bring the light from the wall-ceiling junction. If you want a line of light away from the walls in the middle of the ceiling, the only way is a profile recessed into the ceiling surface. Note the difference: a standard recessed profile with the diffuser flush with the ceiling is direct light downwards – not indirect. It only becomes indirect when the strip inside the profile is aimed sideways or up and the light reflects off the profile wall before coming out.
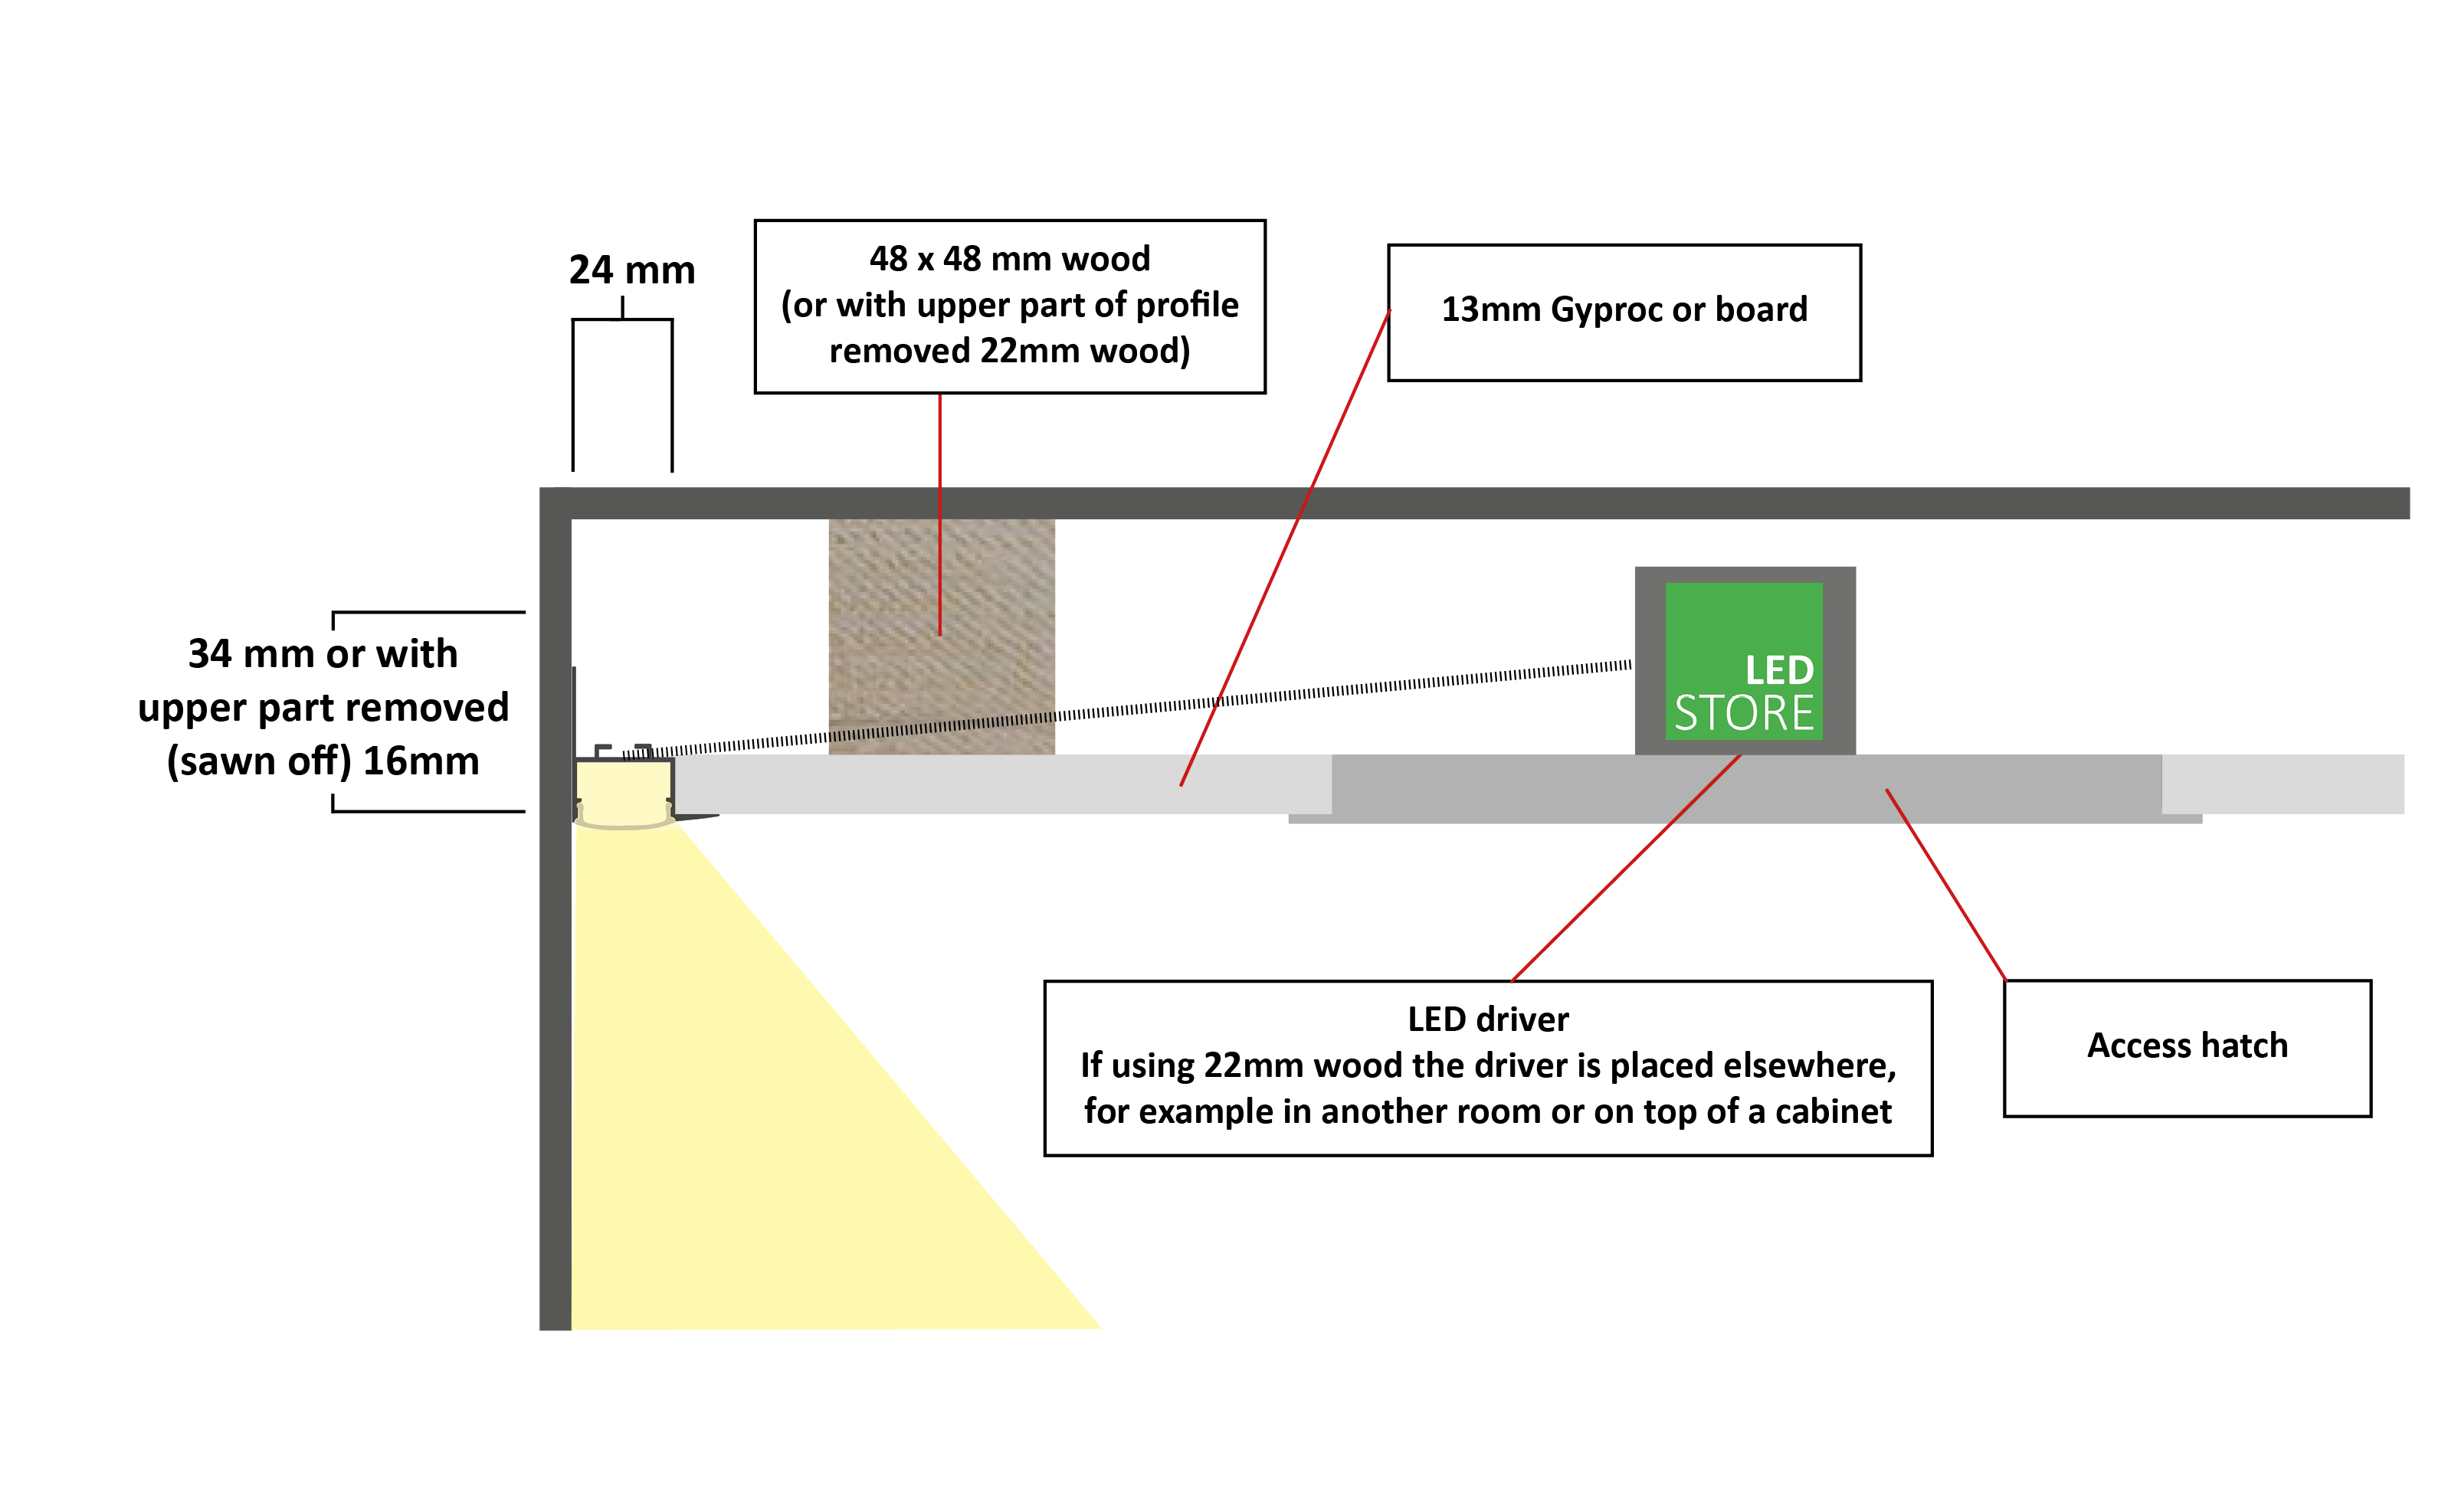
Construction details of all profiles →
Three structures compared
| Structure | Space required | Amount of work | Visibility | Light quality | Suits |
|---|---|---|---|---|---|
| Light cove | 50-250 mm | Plasterboard work | Seamless | Excellent | New builds, renovations |
| Dropped ceiling from the edges | 100-350 mm | Framing + plasterboard over the whole ceiling | Seamless, floating | Excellent | Large and high rooms |
| Corner profile at the wall-ceiling junction | 15-30 mm | Screw fixing | Visible trim | Good | Retrofit, finished home |
Main sizing rules
- Glare shield: 30-50 mm with the strip 40-60 mm back, 15-25 mm with the strip right behind the lip. Always test from a seated position before the plasterboard goes up.
- Strip distance from the back wall: at least 40 mm, so the light has time to spread before the ceiling.
- Opening width: at least 1.5 × the strip’s distance from the front edge.
- Ceiling surface: white or very light matt. Gloss paint reflects like a mirror and causes glare.
- Strip: 14.4 W/m for general lighting on a light ceiling. In a bulkhead dense SMD is enough; in a corner profile, a depth under 20 mm requires COB.
The most common mistake with ceiling light
A glare shield that is too low. The strip is not visible standing but is visible from the sofa – and this is only noticed once the furniture is in place. Mark a check point before plasterboarding: sit where the sofa will be and look under the bulkhead.
Glare shield sizing → · How much light → · Sizing calculator →
Products for ceiling lighting → LedStore
Frequently asked questions
How is indirect light made towards the ceiling?
Three ways: a light cove, i.e. a bulkhead at the wall-ceiling junction; a dropped ceiling with light rising from the edge slot; or a corner profile on a finished wall. The light cove is the most common, the corner profile the only one for retrofits.
Can indirect light be installed in the middle of the ceiling?
Yes, with a profile recessed into the ceiling surface – but then the light is usually direct, not indirect. It only becomes indirect if the strip inside the profile is aimed sideways and the light reflects before coming out. The wall-ceiling junction is almost always the better starting point.
How much space does ceiling lighting need?
Corner profile 15-30 mm from the wall, light cove 50-250 mm of ceiling height, dropped ceiling 100-350 mm. The slimmest plaster-in profile leaves the light surface 7.5 mm from the finished ceiling.
Is the structure visible on the ceiling?
A light cove and a dropped ceiling are seamless – only the lit surface shows. A corner profile shows as a slim trim at the wall-ceiling junction, but it reads as a decorative moulding rather than a luminaire.
Should the light be aimed at the ceiling or downwards?
Light aimed at the ceiling gives soft general light to the whole room. Aimed downwards it is accent lighting, no longer indirect lighting. A two-way profile or a dropped ceiling does both.
Does ceiling light work with a wood-panelled ceiling?
Poorly. Pine panelling reflects 40-55 % of the light, so the same strip gives about half the result of a white ceiling. The solution is almost double the strip power, or lightening the ceiling surface.
Toteutettuja kohteita
Kattoon suunnattu valo toteutettuna
Katon rajaan tai keskelle kattoa – neljä toteutusta joissa valo nousee kattopintaan.
Kuvat: LedStore.fi toteutetuista kohteista.